
For most people, a car is more than just a way to get from Point A to Point B. It is an investment that you depend on.
Considering the average price of a new car in Canada is around $40,000, you want to make sure that your vehicle looks and feels worth driving. While a car wash will help get some of the dirt off of the exterior, it isn’t going to get your car looking new.
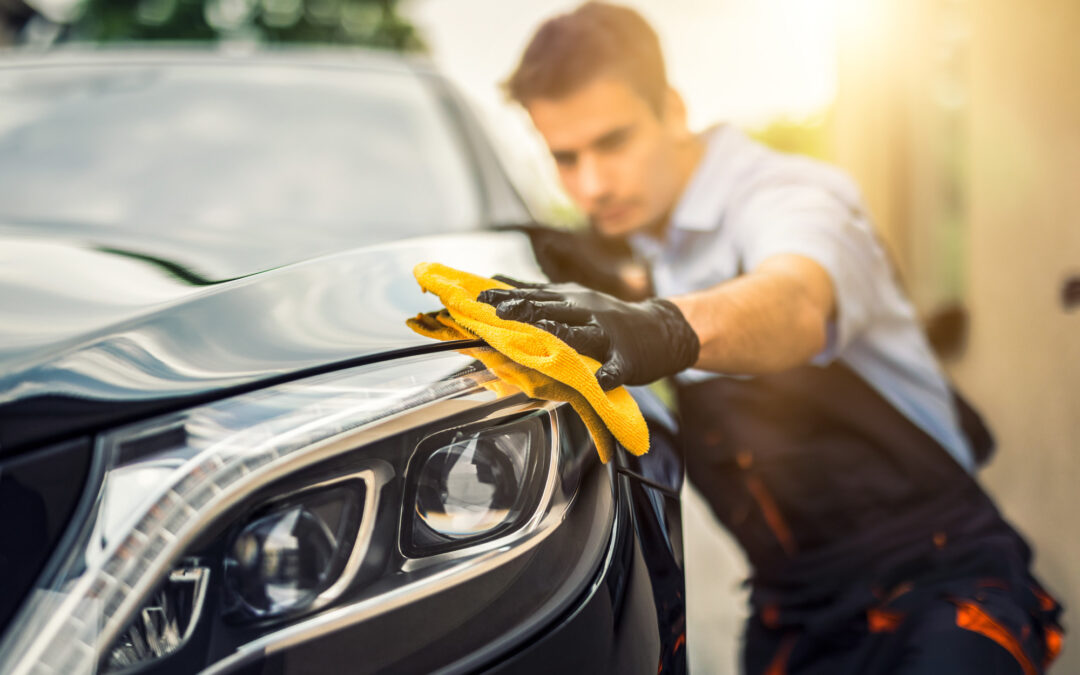
With paint correction, you’re able to do a deep clean of your vehicle’s paint. You’ll fix the imperfections in the clear coat and then apply a new layer of protection, ensuring that your vehicle will look like it just came off the lot.
By knowing how the paint correction process works, you’ll be able to decide if it’s right for you. We will walk you through everything that you’re going to want to know.
What Is Paint Correction?
Paint correction is the process of getting rid of imperfections in a car’s finish and restoring it to a like-new condition. These imperfections can include:
- hologramming caused by inexperienced detailers
- bird dropping etching
- water spots
- fine scratches
- swirl marks from circular washing
A lot of detailers will simply fill fine scratches. This means that the scratches will be hidden initially but will come out again after several washes. The only proper way to get rid of scratches in your car’s paint is with paint correction.
After the paint has been re-levelled, your scratches will be removed for good. However, you’ll need to practice proper and regular maintenance to make sure that your car stays in good condition.
Step 1: Car Wash Followed by Clay Bar
When you’re correcting a car’s finish, the first step is getting rid of all of the contaminants on the surface. This starts with a thorough washing and drying process.
Many people assume that after their vehicle has been washed, it can be considered clean. While it might appear clean to you, the surface will still be covered with stubborn contaminants that require an extra step to remove.
This step is known as “Clay Bar.”
In some instances after a car has been washed the finish of the paint might feel rough, like sandpaper. That’s because your car’s exterior isn’t truly clean.
During the Clay Bar process, the surface of the paint is going to be sprayed with a special clay lubricant. A soft detailing grade block of clay will then be used to smooth things over.
The clay will glide through the lubricant layer and pick up any leftover contaminants that were not removed during the washing process.
This step is extremely important. If you don’t remove the contaminants before you start polishing, the contaminants will be ground into the paint. This can lead to scratches and other visible imperfections.
After all of the contaminants have been removed, the paint will be inspected to see what kind of correction is going to be needed.
Step 2: Wet Sanding
Sometimes, polishing and buffing are not enough to get rid of imperfections from the surface of a car. For things like deep scratches, they need to be removed with a technique known as “wet sanding.” This is the process of using specially designed moistened automotive sandpaper to get rid of the top layer of the clear coat.
The surface then goes through extensive buffing and polishing to bring the shine back.
Step 3: Buffing and Polishing
This part of the paint correction process is the actual polishing of the car. It’s not as simple as getting a polisher and running it over the car, however.
Depending on a variety of factors, such as the type and amount of clear coat and the severity of the imperfections, the combination of polish, pad, and machine can differ.
For example, cars that have been wet sanded will need a multi-step polishing process that could include several types of polishes and polishing pads.
A lot of times, multiple stages of polish will be needed to achieve a complete correction. The first stage of polish will be the most abrasive while the final stage will be a very fine finishing polish.
The biggest scratches will be removed at the start of the polishing stage and then smaller scratches and bumps that are caused by the abrasive polish will be removed by the finer polish.
Step 4: Sealing and Waxing the Car
After the paint correction has taken place, it is finally time to seal up the car’s paint. This wax is going to protect the car from further scratches.
The Importance of Knowing About the Paint Correction Process
After reading this article, you should have a better idea of how the paint correction process works. Paint correction is a process that requires skill and craftsmanship and this is why it is so important that you understand how the process works and that it’s best left in the hands of talented and reputable technicians.
At 2000 Auto Collision, we are known for our quality work and customer satisfaction. If you are looking for high-quality auto body repair, contact us today and schedule a free consultation.
